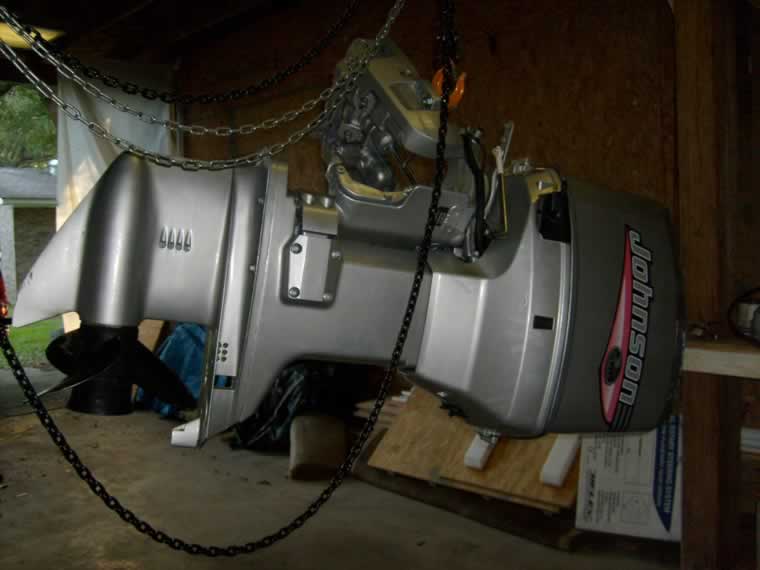
OK, so here's 2 years later...and I actually got enough time to get my shop squared away and fix the damn B.O.A.T (aka B.reak O.ut A.nother T.housand).....need I explain....buy a motor and I damn sure garauntee you'll start finishin yer boat...this here ia a 1994 OMC V6 150 Ocean Pro scalded dawg...new guts and all...
I fabricated 3"x4" 3/8" aluminum angle for attaching the CC to the deck...this was the early design stage.....

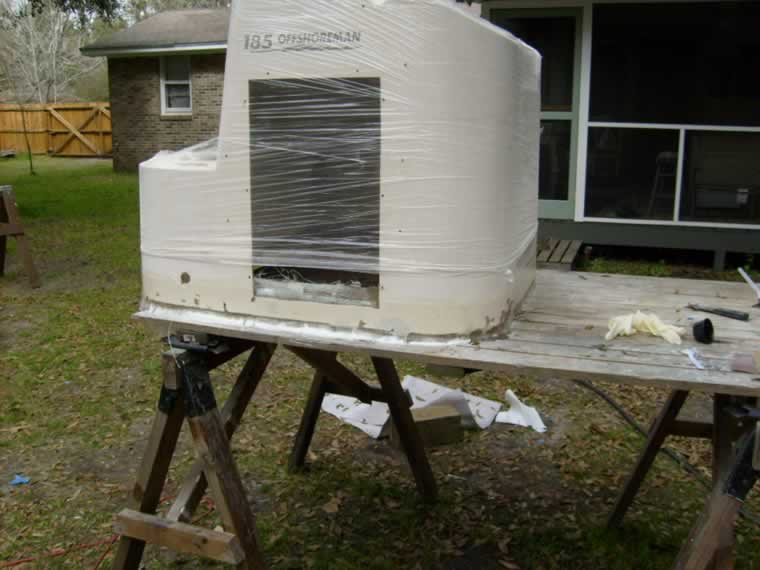
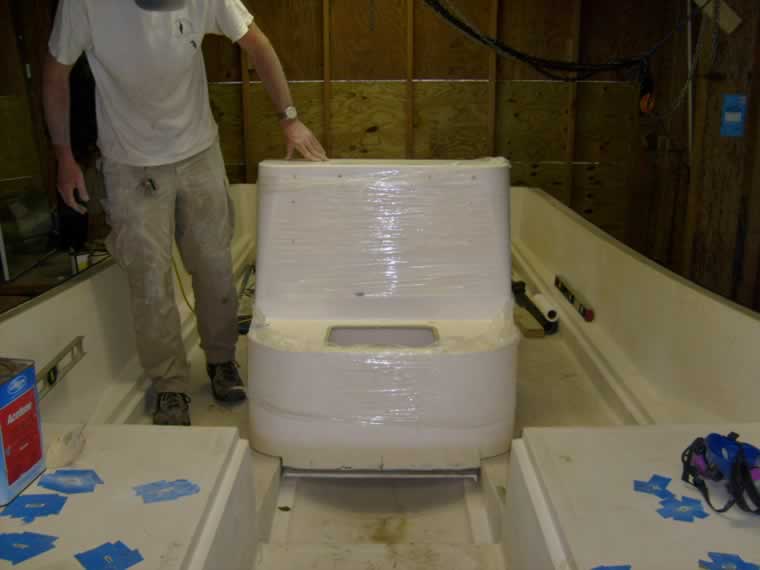
The CC I aquired was manked up on the bottom edge so I layed several layers of new glass (inside) and a layer of epoxy/cloth/ formula 27 filler outside to bolster the bottom edge..I only used the formula 27 to fill screw holes...it's polyester and not a strong as epoxy.
Then I took ye olde trusty angle grinder and cut the bottom to the original flat edge....notice tape for cut line
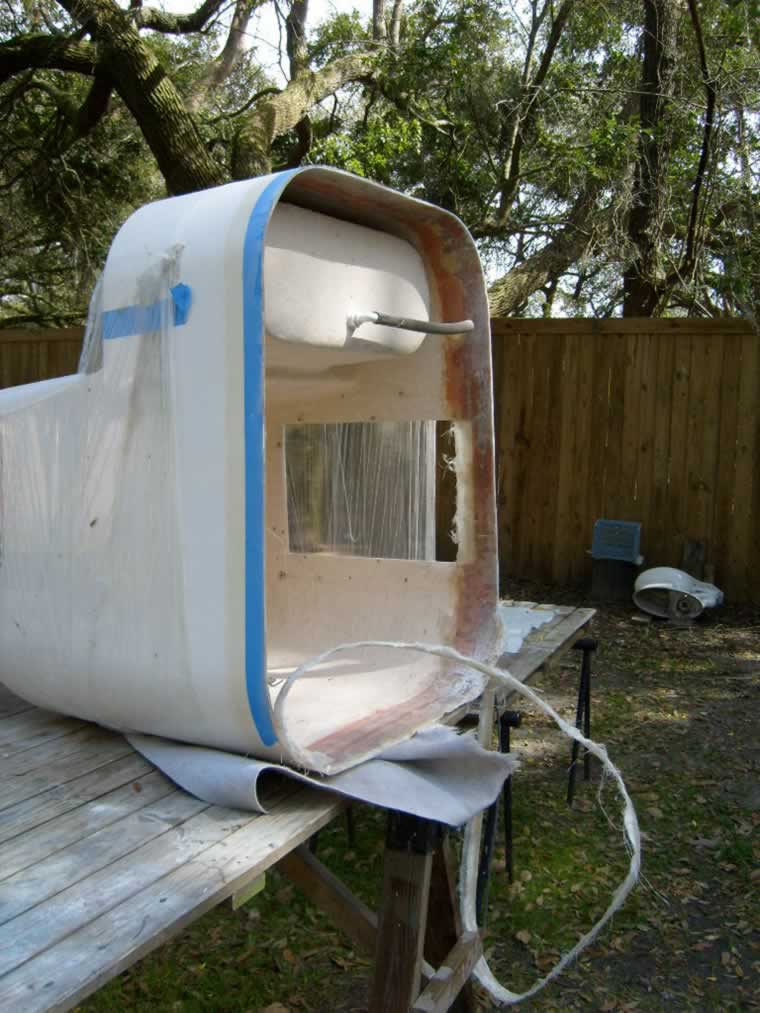
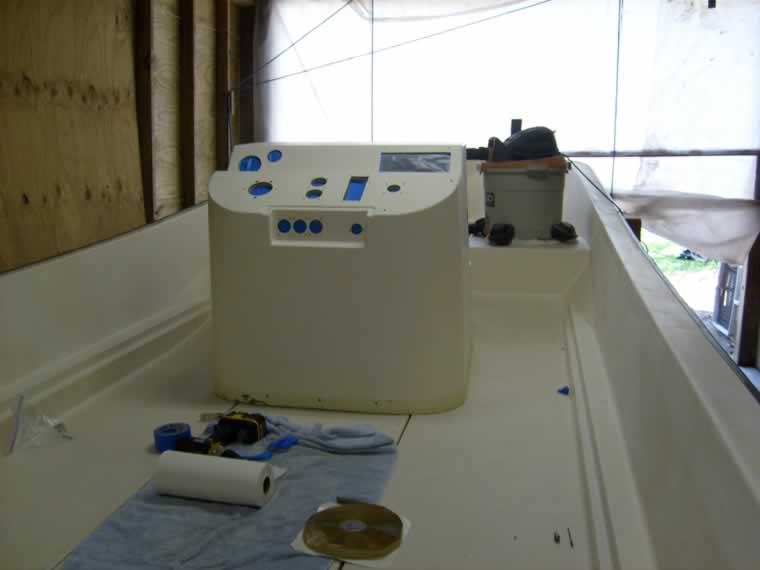
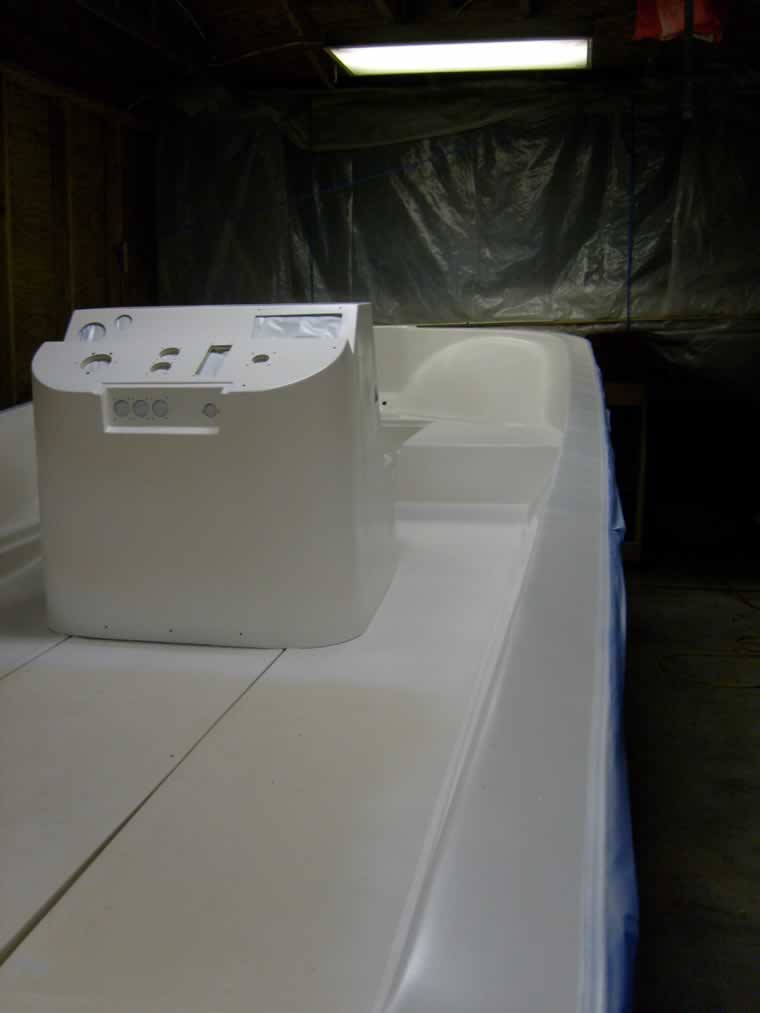
Then I put the console back in the boat, which btw has a curved deck....I cut a block of wood for max height, taped a carpenter's pencil to it and scribed a line to for this critical cut to fit the console to the deck........
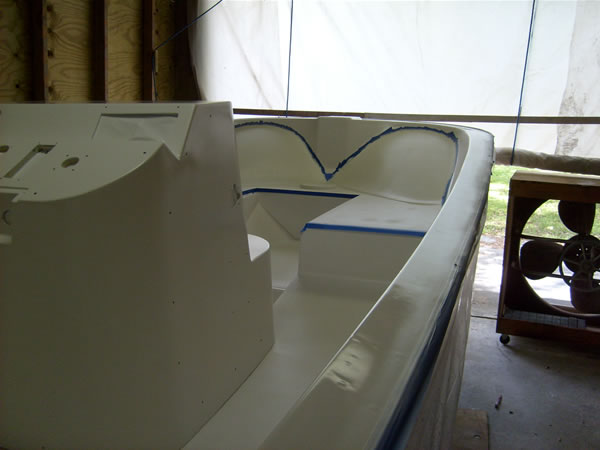
here's console in place w/ the funky deck shape cut....fortunately I got it right the first time or I would have shot myself in the head w. a nail gun...........the blue stuff is gel coat delam/cracks repaired w/ MAS epoxy..
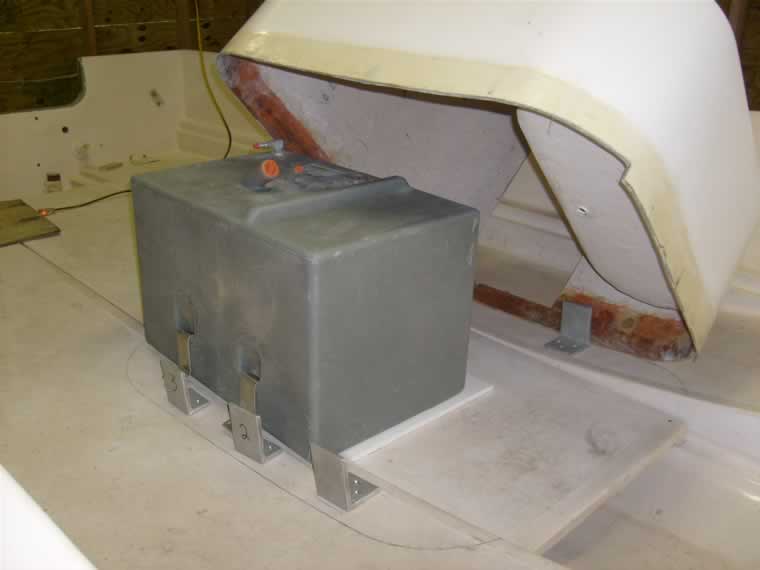
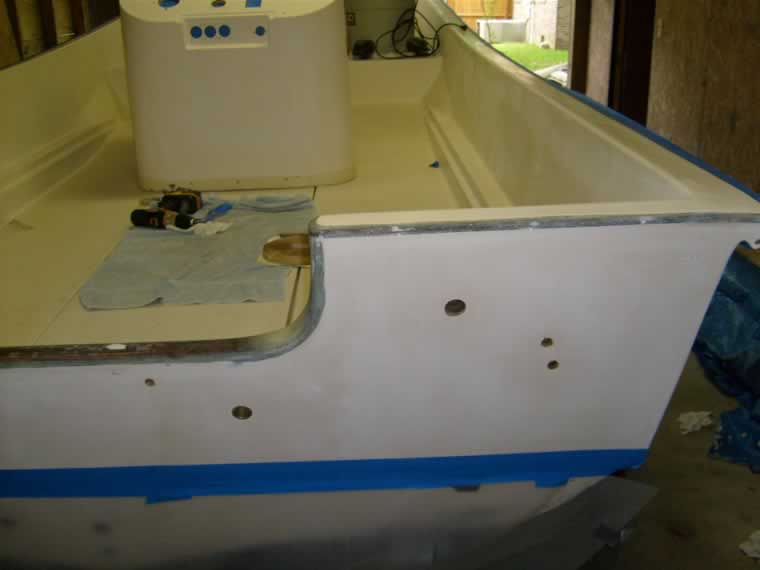
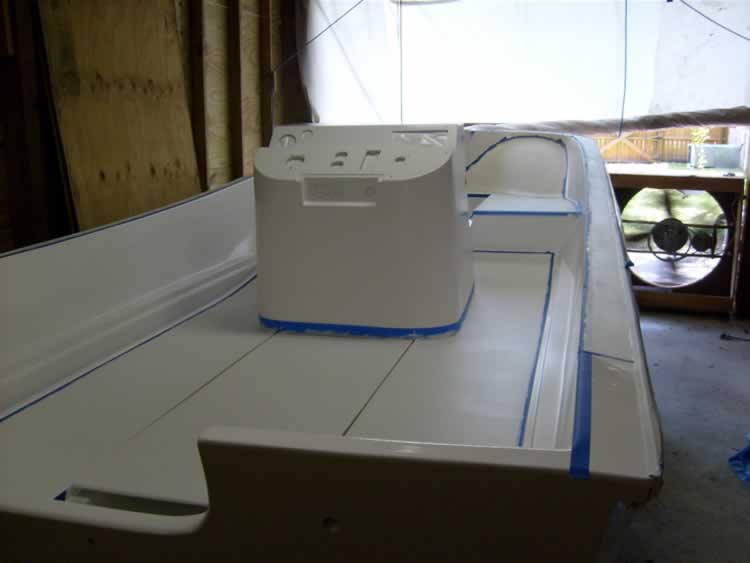
Here's prelim of layout w/ gas tank and hand-made angle brackets...lot's of head scratchin in this phase...
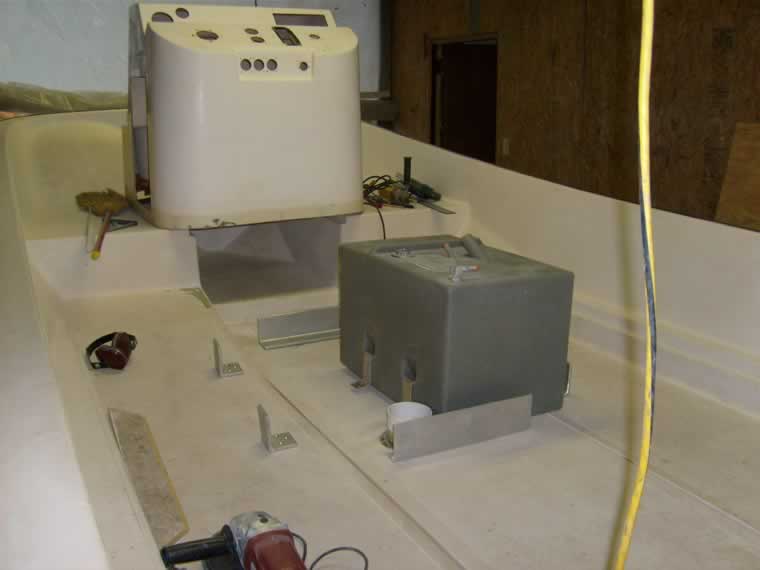
Oh buck wheat....do ye number thou materials w/ a sharpee???
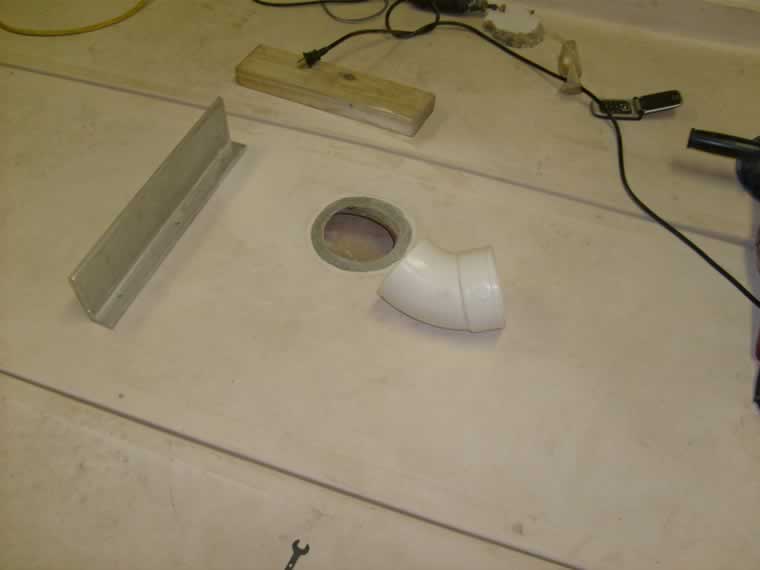
I decided to spend the xtra bucks and put in a PVC pipe chase for controls/whatever in the deck plate...dont ask me how I cut that hole...er this cost $$$1.49???? note phone in background should I need to call Bob Villa or mental health department.... I glassed in the pipe & 5200'd underneath.
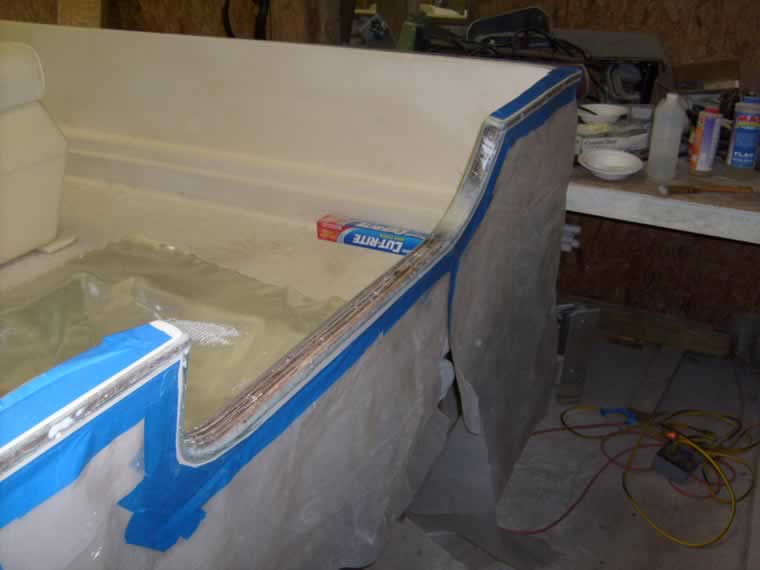
The transom cut-out was uneven especially on the starboard side, I epoxied/clothed several layers w/ these clamps and brace in place....my intention was to roundover the transom w/ epoxy and do away w/ the factory aluminum cap...note the "cut rite" wax paper i used between the clamps so that I could remove them w/o the gel coat attached.......
![]()
Here's the transom in the epoxy stage....I used a 1/2" bit on a router to smooth over the edged, then FG cloth and MAS epoxy......I used formula 27 filler ( sparingly) afterwards to fair irregulatities (its and all puposed polyester resin mat'l avail at bO-at shit werld for too much money...)
Sexy ass close up of radius repair w. epoxy....
![]()
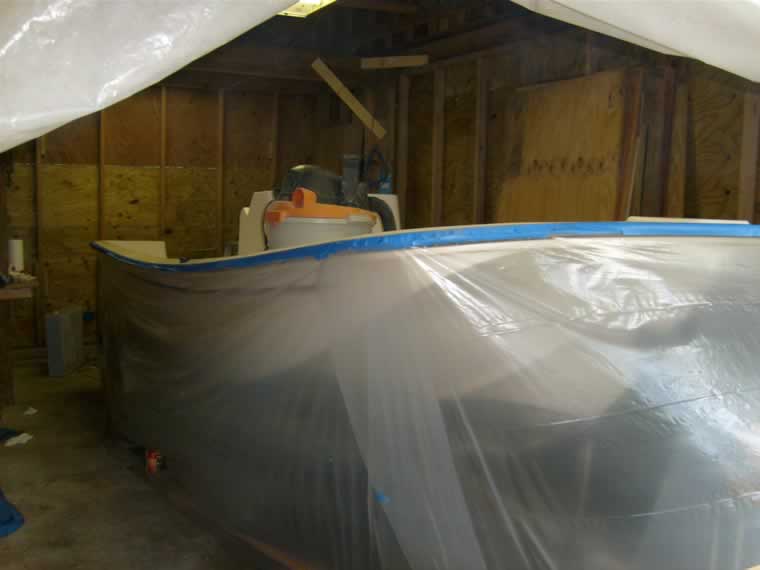
OK if you want to paint...be prepared to labor......prep prep prep.
B4....
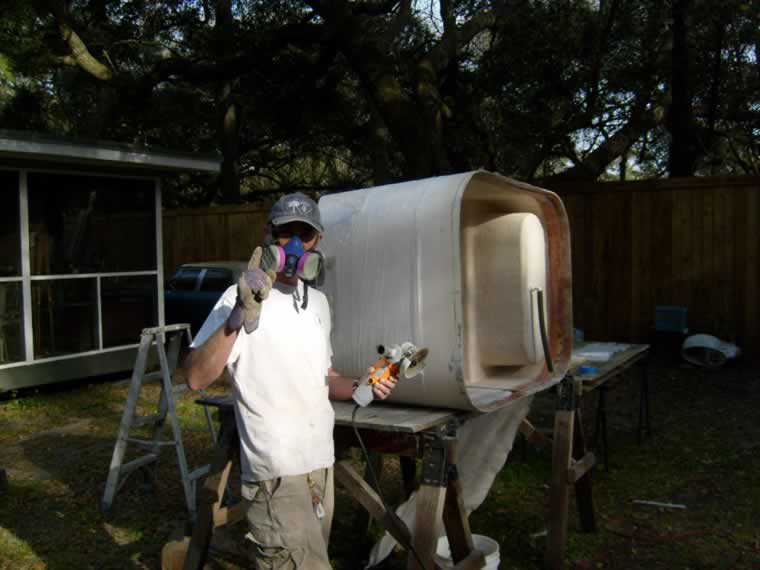
No Fume......nicht rauchen!!!!
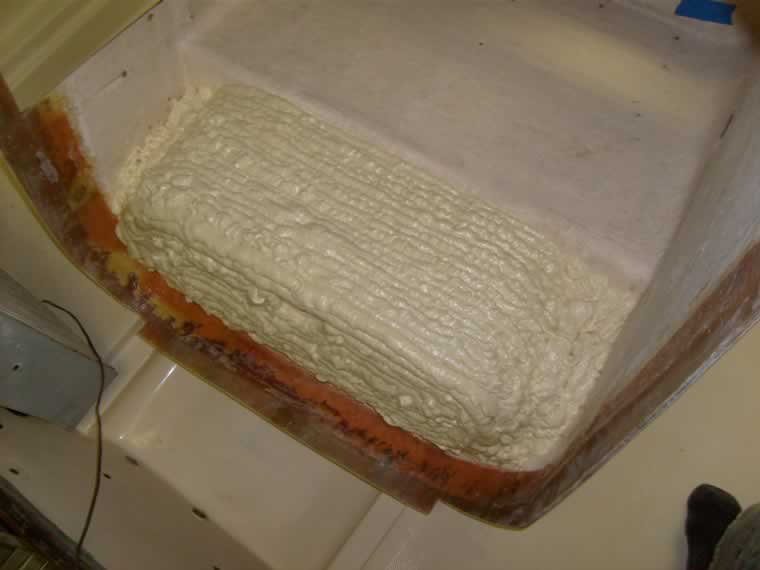
Oh yeah, i foamed the baitwell in the front of the console, cause i'm from the SOUTH and i like to drink and shoot yankees....for good aim ye need cold beer...
The Frankenstein will live!!! Intelux Epoxy Primecote...sprayed, I think I'm still warped from the MEK!!! Not really, I did have a respirator organic vapor that is...
Here's the final topcoat on the transom
![]()
Painting no-skid on the front deck and hull rounds... top of gunnels and entire floor is next
Here's the masked off no-skid areas, I rolled on Interlux interdeck, came out nice and nice matte finish, sligthtly cream color compared to the glossy Brightside..... my one regret at this stage is to have used a 2-part epoxy paint such as Awlgrip or similar. Given to amount of labor involved, the (double) cost is most likely worth it in the long run.
On to the Fun part...re-rigging